Wednesday, October 15, 2014

WMS October 2014 Pyjama Party

We are now into the second week of school, and already the schedule is starting to fill up with concerts for pretty much everything.  Add to that, Grade 6 have their trip to Canberra (Australia's capital), which has become a bit of a tradition, certainly after my time at school.  They get to see Parliament House, National Gallery and several other landmarks, including being at the War Memorial for Remembrance Day.  More important than anything is whether they are staying in the same room as their friends.


With a relatively quiet weekend I was able to put a bit of time into the October WMS Pyjama Party challenge.  I was hoping that the stamps and dies I ordered with my very generous prize from last month would arrive in time, but sadly, no.  I wonder does it have anything to do with increased security with mail services worldwide,  as parcels from the UK usually arrive within the fortnight.

Challenge1:  Embossing with things other than embossing folders
I tried a couple of things, including some Waltzingmouse lace I have hoarded from a few years ago. It worked well but then I couldn't think of what to do with it.  I tried stamps (too thick), gemstones (completely destroyed the paper) so settled on the impression from a couple of layers of card stock.


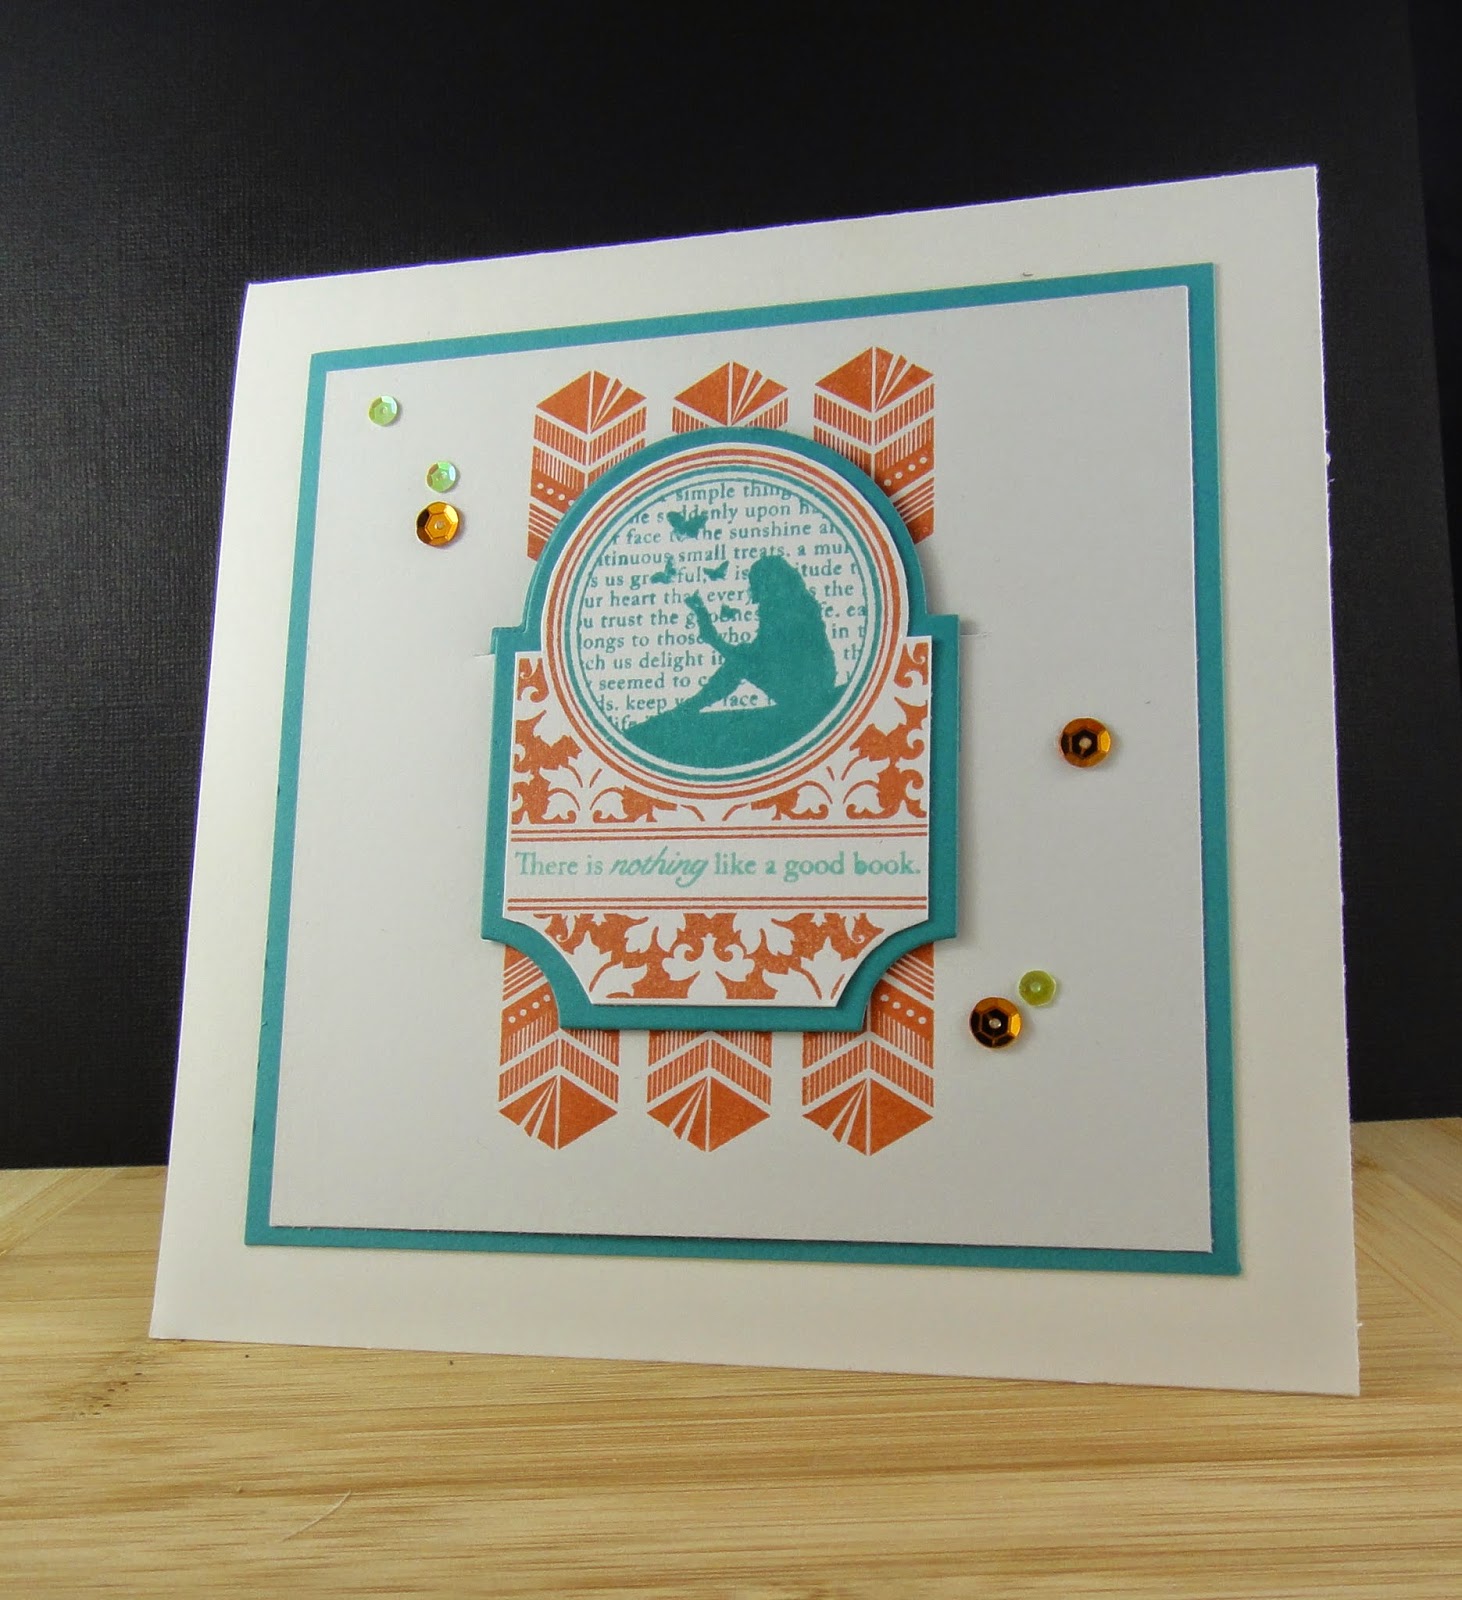
I just had to pull out Funky Feathers for this one.

What you need
Cardstock - PTI white
Stamps - WMS Funky Feathers
Ink - Brilliance Coffee Bean, Rust;  SU Early Espresso
Clear Embossing Powder

Challenge 2:  Snow is falling
I had decided on sequins for falling snow, but not much beyond that, when I found an old friend - Spooky Tree background.  This was clear embossed then the card coloured with Distress inks


The image didn't look great plonked straight onto a white card but nothing I had worked.  So I coloured white with a Chipped Sappire distress marker.

What you need
Cardstock - PTI white
Stamps -  WMS Spooky Tree Backgrounder, Compliments of the Season
Ink - Versafine Onyx Black;  Versamark
Distress Ink - Salty Ocean, Tumbled Glass; Broken China
Chipped Sapphire distress marker
Clear Embossing Powder
Sequins - Pretty Pink Posh and others

Challenge 3:  Old Pyjamas - Christmas


I have no idea what my oldest WMS Christmas set is but this Vintage background hasn't seen ink in a long time.  The colour palette is from the latest Festive Friday challenge.  I think the fabric on the chairs is a textured self pattern so out came the clear embossing powder again (well, it was still out on my messy desk) and it looks really lovely.


What you need
Cardstock - PTI white
Stamps - WMS Vintage Christmas background;  Compliments of the Season,  Vintage Labels 5
Ink - Versamark;  Versafine Onyx Black;  SU Real Red, Wild Wasabi, Lucky Limeade, Certainly Celery
Clear Embossing Powder
Ribbon;  Twine
Glossy Accents


Challenge 4:  Sketch
This one had me really stumped.  What to do with the little flags at the bottom.  Any of the initial thoughts I had involved several layers of paper, therefore, "unsendable".  PTI has a stamp from a release or 2 ago, Botanical Blocks 2 I think, where Nichole Heady coloured kraft card stock with Copics.  The effect was magic


So I tried to create the same effect on this card.  Instead of white pigment ink, I used white embossing powder.  So once the colouring  started the idea came for glitter flags.


What you need
Cardstock - PTI white, kraft
Stamps - WMS Camelia
Ink - Versamark
White embossing powder - Filigree
Copics - R35, R37, R59, YG93, YG99
Ribbon - SU Real Red taffeta
twine
Crafty Sparkles
white gel pen

 Look forward to seeing what everyone has created.

Monday, October 6, 2014

Copic for Cardmakers Days 7 and 9


This card was inspired by Jennifer's  gorgeous cut out card, which she has done before, but I haven't got around to.  I am still fascinated by shadowing to white and I am sure practice will make a bit more perfect.  


The background is translucent embossing paste which I had a bit of trouble getting smooth.  Very understated effect which is all the card needs.

What you need
Cardstock - PTI white, red;  X-press It blending card
Stamp - Clearly Besotted (printed worksheet)
Various Copic markers


This card was practice in creating backgrounds.  This is harder for me as it requires some freehand creativity on my part.  There is a reason I love stamping - I can't draw!  Though I am pleased with the effect the warm greys produce.

Her hair probably took the longest to get right.  Kathy Racoosin did a beautiful job with blonde hair but when I tried it on this image it just went orange yellow.  I need a lighter hand.  


Still in love with this perfect blend of red - it works so well. For the border I tried another of Jennifer's tricks, edging with Versamark then dipping in embossing powder.

What you need
Cardstock - PTI white;  X-press it blending card
Stamps - Wiff of Joy Hot Chocolate;  Wplus9 Hand Lettered Hello
Ink - Memento Tuxedo Black;  Versamark
Embossing Powder - Ranger Liquid Platinum


Sunday, October 5, 2014

Christmas, Copics and Birthdays


Summer is definitely on the way.  After a few mid-week tasters of the summer heat to come, the weekends have been really lovely and great for getting out in the garden.  Unfortunately it is the end of the school holidays, so back to thinking about school lunches and before we know it, it will be Christmas.  Hence the onslaught of Christmas cards.

I took inspiration for the Festive Friday challenge from the wreath here, and a card from the DT (Ardyth I think) for the panelled background.


The wreath is cut from vellum coloured with a few green Copic markers - they were all over my desk as I am in the middle of the Online Card Classes Copic class!  More on that later.  The sentiment is stamped on the inside of the card.

I think using SU Chocolate Chip DSP might qualify me for the latest CAS-ology challenge


What you need
Cardstock - PTI white, vellum
DSP - SU Woodland Walk
Stamps - Wplus9 Silver Bells (sentiment),  Winter Wishes
Ink - SU Real Red
Various Copic markers
Die - MFT wreath
Twine
Gems - Kaisercraft


Yep, here is another one!  I couldn't decide on spots or stripes so went with both.  


Again, the idea of die cut outs but I wanted a border this time.  Note to self, always cut the BIGGER shape first!


What you need
Cardstock - PTI white, red, ripe avocado
Patterned paper - ?? Authentique
Stamps - Wplus9 Silver Bells (and die)
Ink - SU Old Olive, Real Red, Cherry Cobbler; Versamark;  HA Silver
Embossing powder - Zing! Silver
Spellbinders circle dies

Just a quick aside - this was a birthday card I did for one of my daughter's good friends whose birthday celebration was yesterday (and a bit today).  It is a combination of a few different things that Jennifer McGuire has done over the past year and just haven't got around to.  The flowers are stamped in Memento Luxe ink (Jennifer stamped on Kraft card which I hope to get to soon),  and using translucent embossing paste to adhere glitter.


What you need
Cardstock - SU white, Coastal Cabana
Stamps - MFT Tropical Sensatons,  Birthday Sentiments
Ink - Memento Luxe Pear Tart, Rose Bud, Morocco, Love Letter, Dandelion, Angel Pink;  HA Tide Pool;  Versafine Onyx Black
Wendy Vecchi Translucent Embossing paste
Glitter Ritz Ocean Spray
Viva Pearl Pen - Red

Now this is what I have been spending my time on.  I have learnt so much and been challenged to try new colour combinations.  


Some work, some don't - particularly like the purple and green balloon combination.  And it was good to try a few pink and green palettes, they are my favourites together.


Hair was less successful.  I tried Kristina' s technique (middle top), but struggled with the feathering on the fringe.  Really liked the ideas shown for black,  particularly the way Kelly Marie Alvarez tackles the challenge.


For the flower, I followed Sandy Allnock  in colouring the top  2 flowers.  I have always struggled with reds but  it seems to be working now.  I had never had a go at shadowed white flowers but love the was it turned out.

I was trying to get a combination that would work with the new SU Blackberry Bliss in colour - it took a few goes but got there in the end.  Bottom left was my attempt at a pink to white flower, that bright fluoro pink I have trouble with.


Now this was my favourite and I coloured it several times.  I hadn't used the combination for the leaves before but I think it is my new favourite.  I used Jennifer's red trio and Kristina's purply colours.  Then I had another attempt at shaded white then some blues.

Phew,  that's more homework than i probably ever did - and enjoyed!


Monday, September 22, 2014

The Paper Players # 214


How is this for good fortune - I made this card for my husband only a few days ago and here is a challenge it fits right in with.  I think even he likes having a card made with him in mind, and would be disappointed if I just bought one.


He is very much a motor sport fan, especially motorbikes, so this great embossing folder was a must and it looks particularly good on foil card stock.

What you need
Cardstock - SU black, grey;  silver foil cardboard
Stamps - Uniko Studio Today, Tomorrow and Always Time;  MFT Birthday Sentiments
Ink - SSS Smoke;  Versafine Onyx Black
Embossing Folder - Tim Holtz
Die - MFT Fishtail Flag Stax
Gems

Sunday, September 21, 2014

Stampin' Royalty #246

Tis our season for birthdays, particularly for my daughter's friends.  I was given free reign with the colour combination for this card, so went with one of my favourite palettes I discovered recently on Pinterest.  Would love to have seen this dress in full, spectacular I bet.  


I haven't played along with Stampin' Royalty for a very long time (well, any challenge really),  and was struggling  with a layout.  My daughter wanted to give her friend something with a bookmark as we had given her a voucher to a local book shop.  


So after much fiddling about, I used the PTI Mat Stack 3 die double cut and attached at the top.  I have then put sticky magnets at the bottom to hold it to the page.


This is what was under the bookmark.


What you need
Cardstock - SU white, Bermuda Bay
Stamps - PTI Mat Stack 3, All Booked Up;  WMS Funky Feathers
Ink - SU Bermuda Bay;  HA Tide Pool;  Brilliance Pearlescent Rust
Die - Mat Stack 3
Sequins

Just to finish off, here is another card in my ever ongoing series of using up 12 x 12 paper.  I found this photo in a Christmas catalogue last year and thought I would have a go at reproducing the pattern on the toiletries bag.


The paper is MME Lush 2, I think and the graph paper lent itself to the design.  I stamped the whole sheet with PTI The Sweet Life, and am really happy with how it turned out.  

Sunday, September 14, 2014

Christmas Pyjama Party


Spring is definitely in the air around Brisbane, it seems that a switch was flicked on 1st September and we are into warmer weather (sometimes it would be nice to have the milder temperatures for a bit longer as it makes our humid summers so long).  

Next week school holidays begin, and I can't tell you how much my daughter needs a break.  Traditionally this is their busiest term, with assessment and several ensemble performances that seemed to be all at the end of term.  Add to that my daughter has damaged the tendons of her big toe and is unable to do ballet - weird thing is she did it while doing Hip Hop at school!  So she has been told to rest till school resumes in October.  

When I saw this photo over at Festive Friday I knew I needed to find my mojo fast (it has been missing for a very long time) - it is so beautiful!    Which elements to pick!! 


I settled on pink with a touch of grey and the baubles, the picture frame on the bottom shelf was the impetus for the shape of the card.  I have been wanting to use my stencils more, with all the inspiration out there, so the snowflakes  possibly make for a busy card but that's OK by me.  

While these stamps may not be my oldest WMS Christmas stamps, they are very much loved like "Old Pyjamas"  - Challenge 3


What you need
Cardstock - SU grey;  PTI Shimmer Pink;  SSS vellum
Stamps - WMS Nordic Winter, Compliments of the Season 2
Ink - Versamark
Embossing Powder - Filigree white;  Ranger Liquid Platinum
Embossing Paste - Wendy Vecchi
Stencil - SSS Snow
Crafty Sparkles glitter
Punch - SU
Die - Spellbinders
Twine - Lawn Fawn

OK, while we are on a roll with creating - I came across this Colour Q challenge and knew it had to be the debut of my new Blackberry bliss ink pad.  I was a little concerned as my previous new formula SU stamp pads have been less than successful (very wet and blotchy).  Quel surprise!  It worked a treat - almost as good as my adored Versafine ink pad (high praise indeed).  


So, using the WMS Bedtime Stories sketch, I came up with a birthday card for my Mum.  It isn't needed till Christmas Eve, but it doesn't hurt to be prepared (and she doesn't read my blog).  
I have been catching up on all the lovely posts from Laura Sterckx, and one of the techniques she is particularly good at is shaker cards, so that is what we have here.  My Mum is also in love with seahorses.  


What you need
Cardstock - PTI white;  BB grey;  Canson shimmer gold
Stamps - WMS Ocean Bound, Cameo to Go (sentiment)
Ink - SU Blackberry Bliss;  HA Butter Bar;  SSS Fog, Smoke
Die - MFT Fishtail Flags and Layer Stax
Punches - SU
Acetate Sheet
Copic Liner Grey 0.3
Sequins - various

Just one more I thought I would tack on the end.  My daughter's teacher has had a term off school and his replacement will be finishing up on Wednesday.  She asked me for a card and present to give her.  The colours she chose were aqua and mango .... hmmm. 

So this is what I came up with - I have been wanting to do more Distress ink blending (again, thank you Laura),  so used it as a patterned paper.  I do need more practice but love the effect.   Ooh, and a bit of practice for the upcoming Online card classes class - all about Copics.


Sunday, July 27, 2014

Colour Me ..... # 30

My goodness .... it's been a while!

It has been silly season dancing-wise and school holidays (which was very much needed).  My daughter has found the step up to Grade 6 work and expectations, a bit daunting.  Add to that friendship complications and you have a turbulent first semester.

Her holidays started with a charity dance concert, then straight into extra practice for ballet exams.  Just before the break she was given the nod to progress to pointe shoes - very exciting.  Parents had to attend the first lesson to get instruction on sewing on ribbons and breaking in the shoes.  Now they have had their second lesson, I think they are wondering what all the fuss was about.  All the girls have pretty sore feet and ankles.

I haven't been idle on the crafting front, just completely lacking in motivation and imagination.  The need for a birthday card for a party my daughter is attending today helped to shrug off the inertia.  My inspiration was the latest Colour Me .... challenge.  


I really wanted to use the negative die space of the flowers, to add a bit of interest, and I have seen this popping up all over the place.


What you need
Cardstock - BB black, white
Patterned paper - SU Brights DSP
Stamps - Casual Fridays Bold Wishes
Ink - Versamark
Embossing Powder - Gold Glitter
Dies - PTI Beautiful Blooms 3
Gems - Kaisercraft
Flowers - SEI?

This is one of the many cards I have been making, but one of the few that isn't a copy (told you there was no imagination).  I love the SEI paper but not sure why I got it.  It was part of a 12 x 12 pad, so tonnes to use up.  I decided to use it up on some sympathy cards and some envelopes to go with them, which I never have when I need them.


Really enjoying the Commonwealth Games.  After the debacle we suffered at the Olympics in the swimming, it is really nice to see them taking a disciplined approach.  We are currently watching the mens and womens marathon -  looks gloomy with the drizzle and looks like the Africans have got it.

Friday, May 16, 2014

Watercolouring - Day 8


Tasnim Ahmed's beautiful watercoloured magnolia completely blew me away with its style and simplicity.  She made the technique look so easy and hand painted.

So this is my version, the stamp set, and oldy but a goody - SU Fifth Avenue Floral.  I didn't quite get the contrast Tasnim did or the great colour blending.  But I did enjoy familiarising myself with Distress inks and watch them work with water.  I fiddled around with a few of the stamps, picked the rose for the card but couldn't bear to part with the lily(?), so made it into a bookmark.


What you need
Cardstock - SU Melon Mambo, black;  Reeves watercolour paper
Stamps - SU Fifth Ave Floral;  Clearly Besotted Butterfly Wishes;  PTI Life is Sweet
Ink - Archival Jet Black;  Ranger Distress inks (Seedless Preserves, Worn Lipstick, Picked Raspberries, Antique Linen, Ripe Persimmon)
Crochet thread, ribbon

Thursday, May 15, 2014

Watercolour for Cardmakers


I know I say this every time one of these great classes comes along, but it bears repeating - the contributors are SO talented.  Watercolouring has never really been my thing, I think it can be a bit messy looking to me but not some of the creations that have been on display.  


This first card is a re-creaton of one of Shari Carroll's cards, same stamp and treatment, except she faded it out around the edges which looked amazing.  I was trying to get the technique right so just kept alternating the colours.  I couldn't get the distress markers to work as well as Shari did, so opted for Inktense pencils.

What you need
Cardstock - PTI black, white;  Reeves watercolour paper
Stamps - HA Looped Flower pattern
Ink - Versamark
Embossing powder - Coloriser clear powder
Inktense pencils
Die - MFT hello

This second one is a combination of a few people's work, from Day 6 I think.  I really enjoyed the detail shown in the Jean Manis video.  The idea of stamping in Archival ink then clear embossing worked really well,  her colouring was exceptional also.  I tried to emulate her background shading but completely messed it up, this requires more practice on my part.  

Jennifer McGuire's card also caught my eye, again the colouring was stunning.  Both ladies used Distress markers and found them much easier to use on Tim Holtz watercolour paper.


What you need
Cardstock - PTI black;  SU light grey;  Tim Holtz watercolour paper
Stamps - Clearly Besotted Thinking of You
Ink - Archival ink (Jet Black)
Embossing powder - Coloriser clear powder
Various Distress markers


Sunday, April 6, 2014

Case this Sketch #71


Here we are, Sunday evening, the start of Easter school holidays.  A couple of very warm days, culminating in a storm this afternoon - much needed.  My daughter finished up on Wednesday then had a couple of days doing jobs around home and sorting out what she needs clothes-wise for winter.  Towards the end of next week she is having some time with friends and next week a ballet workshop - she loves those things.  

So, to the sketch, a link to a tutorial appeared on my PInterest page by Catherine Pooler via Patrice's Pinterest board.  This had me completely intrigued so I had to try it.  Unfortunately, the contrast in colour doesn't show up so well, but I loved giving this a go.  


What you need
Cardstock - SU Melon Mambo, white
Stamps - SSS Best Mum Ever;  TE It's a Banner Day 2
Ink - SU Melon Mambo, Pumpkin Pie, Lucky Limeade;  Versamark
White embossing powder - Superior Filigree
Aqua Brush, bleach
Wink of Stella pen - clear

Tuesday, March 25, 2014

PTI March 2014 Blog Hop


I am completely undecided about which card to post for the blog hop,  though this one has a non-PTI die featuring.  But this is where the idea started, or more correctly with a sheet of Smoky Shadow and black patterned paper sitting on my desk for quite sometime, thinking that this could be an interesting combination.  


So for shiny and glossy. For both cards my shiny is silver cardboard and clear embossing powder.  I also used Ranger superfine silver embossing powder on the first card.  


I am slowly learning to use "The Sweet Life" stamp set after many a doomed card panel.  It has the most wonderful dimension, but really loved the embossed effect.  


What you need
Cardstock - PTI Smoky Shadow;  Silver mirror cardstock
Patterned paper - Black pattern pack
Stamps - PTI The Sweet Life
Ink - Versamark
Embossing Powder - Coloriser (clear)
Die - PTI Hello
Related Posts Plugin for WordPress, Blogger...